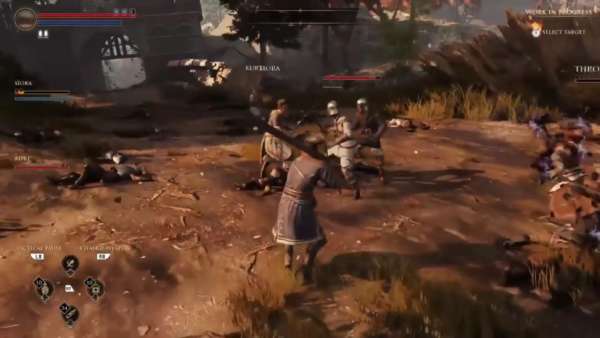
Ahead of its release tomorrow, we’ve compiled a short beginner’s guide for Ska Studios’ Salt and Sanctuary, to help you get off the boat and into the fight as quickly as possible. These tips and tricks will hopefully aid in your quest to save the princess and discover whatever the hell is going on, on this island of unspeakable horrors.
1. Choose your build wisely
Unlike Dark Souls where you only need to pass the initial weapon parameters to use a certain weapon, Salt and Sanctuary requires you to unlock a specific skill on the skill tree in order to use specific weapon classes. This also applies to magic, prayers and armour sets as well so before you start levelling up, envision roughly what kind of build you want to go for on your first run and mark down the location of certain skill points on the tree. This will save you having to spend ages doing additional grinding to unlock a weapon skill you forgot to build towards when planning your character.
2. Worship the right idols
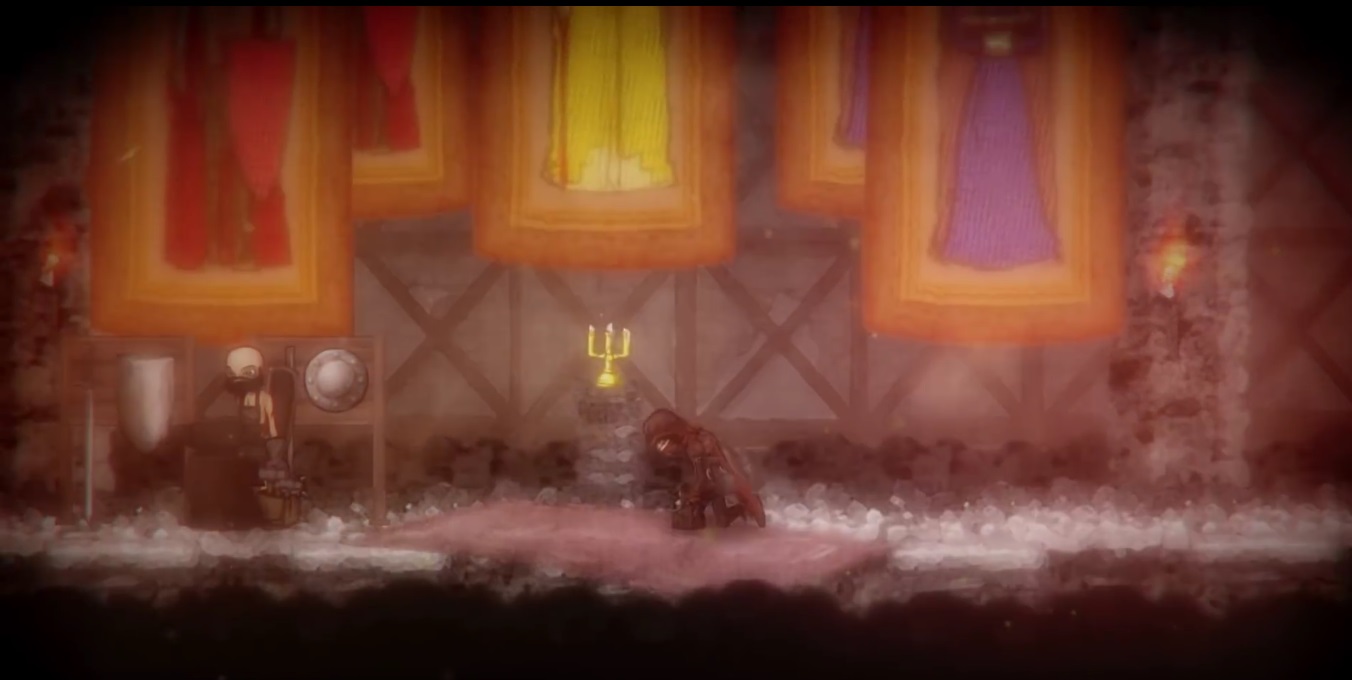
When you find a Sanctuary or convert one to your creed, you only have four slots for NPCs so choose wisely when establishing a new base. If you are playing alone, you don’t ever really need to use the Stone Sellsword idol, as that is needed for co-op play and little else. As a utility and to create a useful warp network, I’d always use a Stone Guide at every Sanctuary possible. Not only does this allow you to teleport between other Sanctuaries with a Guide, but it increases item drops for the zone that you are in. The Stone Leader’s quests don’t seem to change until you complete the quests that she has active so you only need one Leader at a Sanctuary. Blacksmiths and Merchants are always helpful for upgrading new weapons and selling overflow items, so try to have these NPCs near a farming area. You will eventually have every type of NPC at a Sanctuary by about five hours in so as long as you have Guides placed at each Sanctuary, you will have all your bases covered.
3. Doublecheck your loadout
When equipping items, your one handed options and two handed options are sorted separately so you can essentially have two loadouts on a single character, if you have a high enough equipment load. For my Knight who wields a two handed claymore, I have a damage charm on his one handed loadout and then have an increased attack speed charm on the two handed version so I can deal more sustained damage. Remember to actually equip the charm on your two handed loadout, it doesn’t prompt you to equip it so make sure you do if you want that bonus.
4. Ledges are the best line of defence
The humble ledge is the best shield in Salt and Sanctuary, as you take no damage while climbing a ledge, allowing you to dodge attacks if timed correctly. If an enemy is about to attack you or a boss is winding up for a particularly nasty hit, time the hit so you are in the ledge climb animation just as the attack was about to connect. Done properly, you can dodge really damaging moves and be available to strike at an enemy while they are still in their attack animation. On certain bosses where you are forced to do some light platforming during the fight, this technique is invaluable.
5. Grabs are weird
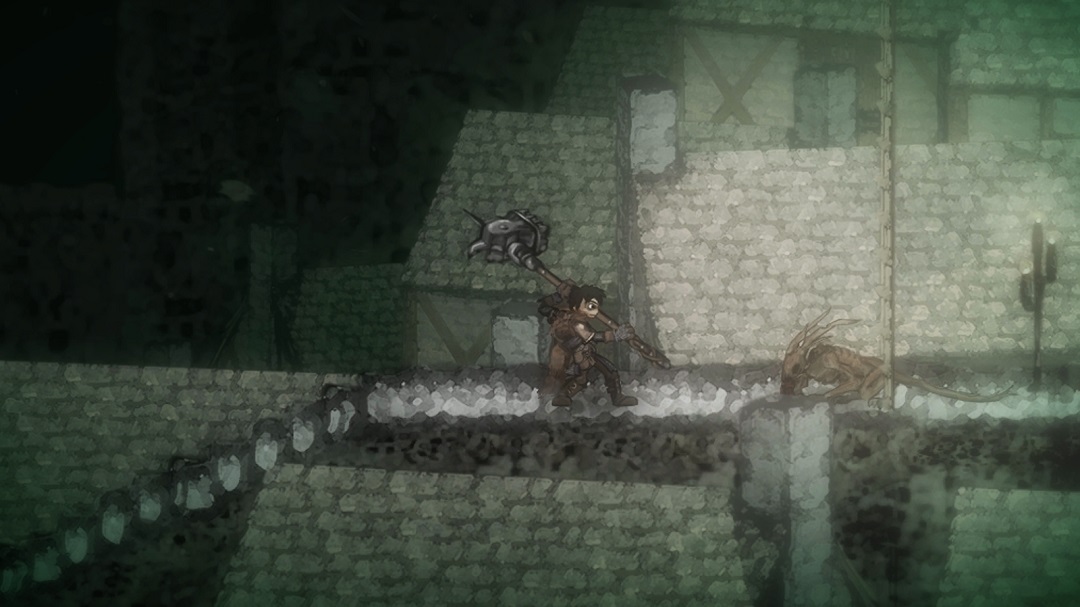
Grabs seem to work in a similar way to the ledge climb animation, locking you into only one source of damage while negating the effects of all other attacks. By baiting out a grab at the correct place, you can skip large sections of a zone by descending down large pits that you would normally die from if you tried to jump down them. I was able to skip a sizeable portion of the Red Hall of Cages by getting grabbed by a Retchfeeder, being knocked back down the lift shaft and arriving at the bottom without taking any additional damage. By having this happen, I was able to bypass about 20 minutes of tough platforming and activate the lift back up to the Red Hall Sanctuary. As long as you can survive the damage done by the grab, this trick seems to work. This glitch will probably be patched out soon but it’s something to try and replicate if you are stuck in specific areas.
6. Prepare to farm
Combined with a Stone Guide to boost item drops in an area, you can quite easily farm early level upgrade items to get some pretty powerful gear in the early game. For farming Locks of Hair, I’ve found that the corpse pile outside the Bandits’ Pass Sanctuary is a good place to grind, due to the sheer amount of enemies in that area. As for Soldiers’ Poems, Split Swordsmen drop them fairly regularly. One spawns in between the shrine and the Tree of Men bossfight and makes for an easy place to continuously farm. That is just another general tip, look out for a candlestand with a skullface on it if you are anxious about bossfights. If you see one of those creepy lighting fixtures, be prepared for a boss.
7. The power of two handing
If you are playing a heavy armour build, it can be hard going in the early stages as you chew through your equipment load very quickly. However, if you two hand your weapon, you actually increase your total equipment load for as long as you stay in this stance so feel free to equip that extra piece of heavy armour. The tradeoff is that you do lose your shield and once returning to one handed mode, you will move incredibly slow but it can be a good stopgap when farming for that last bit of Salt to level up your Endurance.
8. Parry, Roll, Shield and Jump
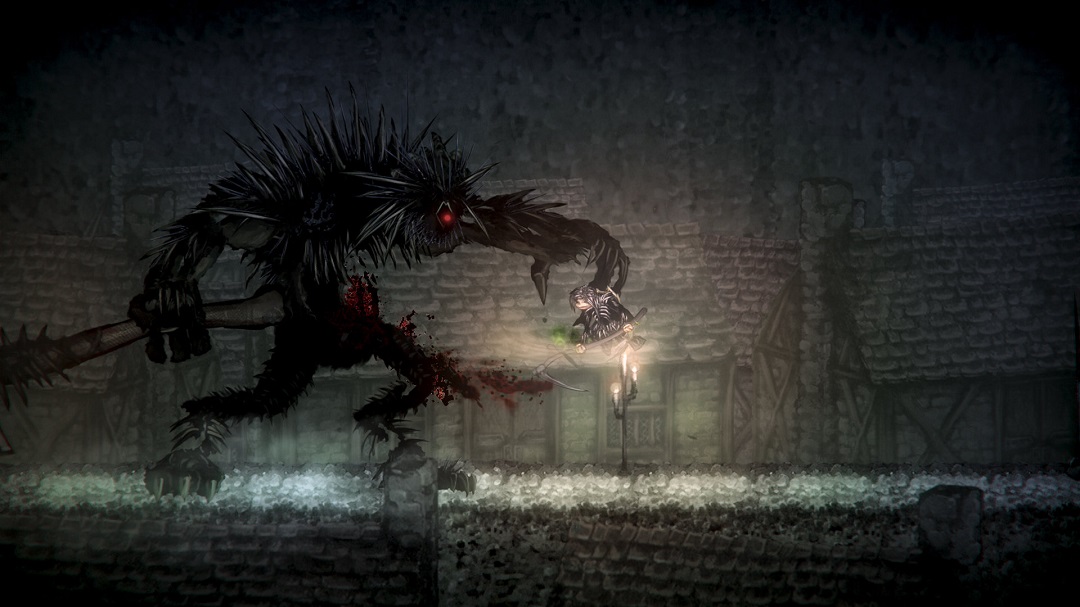
Not quite the Five Ds of Dodgeball but try committing these four ways of mitigating damage to your memory. If you’ve come straight from the Souls series, jump is the one you’ll often forget as parrying, rolling and shielding usually does the trick. Most bosses have an attack you can roll through, one you can shield and one you can jump over so remembering you aren’t locked into a single action will alleviate your frustration. Just remembering that I can jump over certain attacks made bosses that I thought were impossible, a cake walk.
9. It’s often more than just a flesh wound
Wounding is a mechanic in Salt and Sanctuary which isn’t explained all that well and can you to panic as you see your overall health gradually deplete. It’s sort of similar to the Hollowing mechanic from Dark Souls II but it happens as you sustain heavy damage, rather than from when you die. Attacks over a certain damage threshold can inflict wounds, which causes your total health to go down. You can recover this lost health by using a prayer like Mend and you can reduce the wounding effect by wearing the Bandaged Ring but you cannot recover wound health via normal healing items. There is also an exhaustion effect with spells, in that casting a spell reduces your overall Stamina meter so don’t be so trigger happy with magic. By returning to a Sanctuary or a shrine, you do refill all your meters back to full.
10. Picking effective Effects
Similar to the starting Trinkets found in Dark Souls, Salt and Sanctuary‘s Effects are items that your character will spawn with when they washed up on the cursed island’s shores. None of them are quite as helpful as the Master Key from Dark Souls but some are definitely more useful than others. I’d avoid the Red Shards and Amber Idol, as the Red Shards are less effective versions of the refilling health flasks you get from the first Sanctuary and the Amber Idol is an upgrade material which you can’t use until you get a Blacksmith at a Sanctuary. Even then, you can farm both of these items so give them a miss. The Stone Sellsword is only really useful if you want to play co-op from the very beginning, as you need this item to summon in a co-op partner. Personally, I’d go for the Grasping Ring as it increases the Salt dropped from enemies in battle which can help boost early game levelling. The Crystal Sphere is probably the second best Effect as it is used to convert an already occupied Sanctuary to your creed. If you choose the Three as your starting creed, you can use the Crystal Sphere to convert the Bandits’ Pass Sanctuary as soon as you find it, which is useful seeing as you’ll be using that as a home base a lot.
11. Pick the right quest rewards
The Leader NPC gives you short fetch quests, which sees you collecting x amount of monster remains in exchange for some goodies which replenish when you return to a Sanctuary. These can range from getting an additional Health or Energy Flask or always receiving an item which can buff your weapon whenever you return to a Sanctuary. Be warned, these quest rewards are tied to the creed that you are in so if you decide to switch, these extra items will not carry over. Don’t worry about extra potions you get from the Poultice Pouch upgrades from the skill tree, they are consistent across every creed.
Hopefully, those tips should help you get started with Salt and Sanctuary. Soon, you’ll be carving through bosses and saving princesses like it was your day job. Check out our review of Salt and Sanctuary here and let us know of any of your own tips in the comments below.
