One thing I wished I have known sooner is where to find the Sniper Rifle in The Evil Within 2 and how to fixed it as it comes broken.
By far a decent weapon to have in your arsenal in the early stages of the game as you have much longer coverage in terms of distance and more importantly can aim for those headshots against The Lost.
Before you get the broken sniper rifle though, you need to head out and get the Warden Crossbow which is not “just outside” as O’Neil suggests.
Finding the sniper rifle is not easily found, the location is hidden away and can be missed even though it can be grabbed as early as Chapter 3. Hard to believe can pick up both the Warden Crossbow and Sniper Rifle in the same chapter but you just need to know where you look to find it.
Picking up the sniper rifle early game has a problem of it’s not working when you find it and tracking down of additional parts are needed before you can use it.
How you can find the broken sniper rifle and how to fix it.
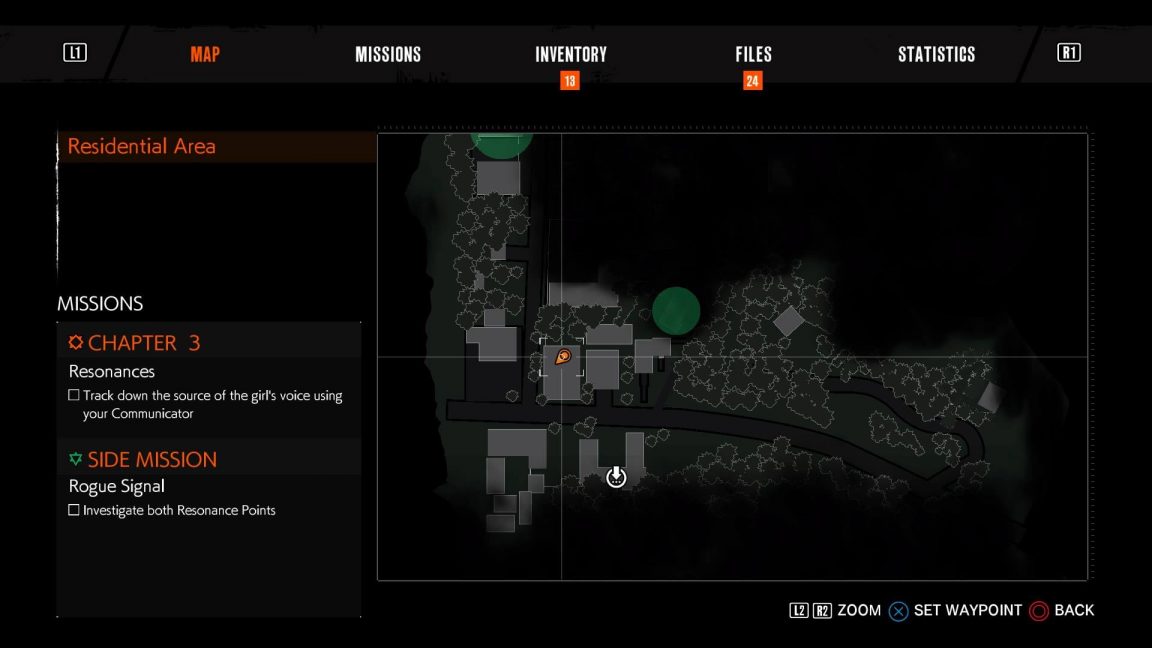
At the start of Chapter 3, you can leave the Safe House but stay low and quiet and head through the Residential Area until you spot an alleyway which is between the Visitor Center and Jason Franklin Resturant. It is almost opposite the safehouse, just follow the building opposite down to the left and the alleyway should be on your right-hand side.
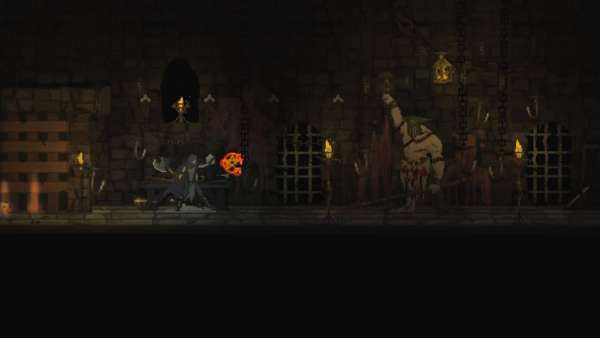
Once you get down the alleyway, you can head up the stairs and climb the ladder to get on top of the roof. Be careful though as there will be a Lost enemy there waiting for you but a stealth kill should solve it pretty easily. Here’s where you’ll find the Broken Sniper Rifle and some Sniper Rifle Ammo. Nearby there’s also a communicator next to a dead Mobius Operator which gives you a clue to the location of the spare Sniper Rifle Parts to repair it.
How to repair the broken Sniper Rifle
Once you have the communicator, you can head into the menu and see that the Sniper Rifle parts are located in a shed opposite the Union Auto Repair shop. This will now be marked on your map but it can be quite minimal to spot. Especially as opposite the Auto Repair Shop applies to two different sheds which can be confusing if you don’t see the marker on the map.
On your way to collect the parts, you can also pick up a Laser Sighted Pistol and a Shotgun if you have not already traversed over in the direction of the Auto Repair shop.
Be careful though…
When you get to the repair shop, there are a number of roaming Lost as well as a bigger monster call a Lament which spews acid and can let out a stamina drainer screech. If you are only starting Chapter 3 you’ll want to sneak past this abomination as they can require some impressive amount of ammunition to take down. Sneak past and kill the Lost which is trapped on the inside banging on the door.
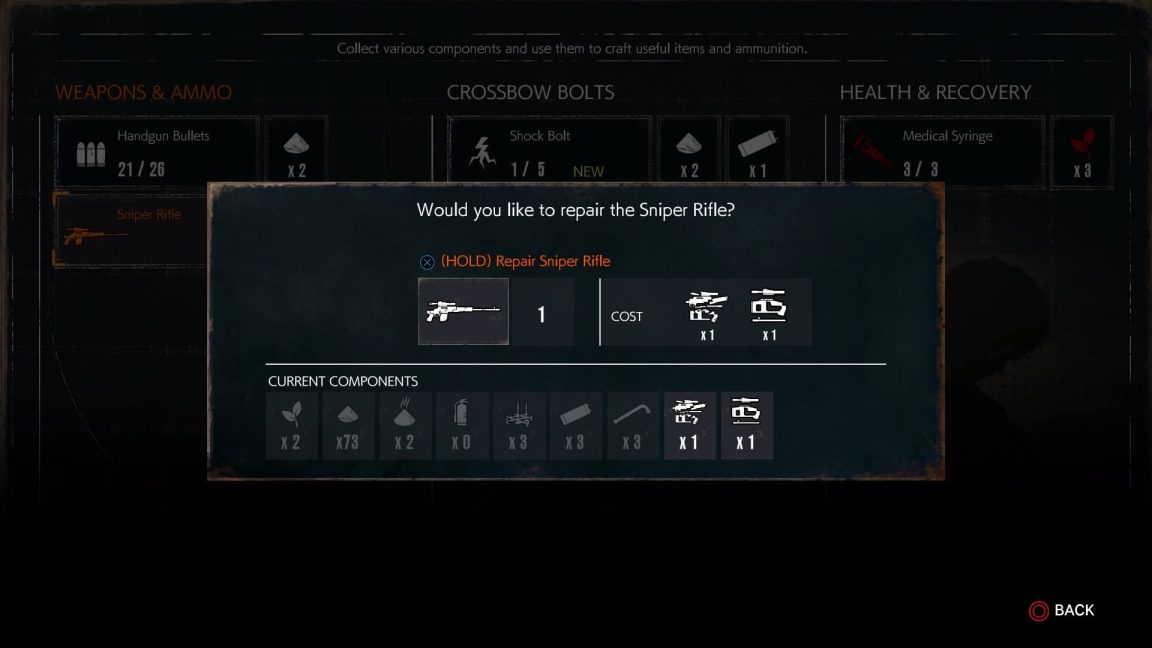
Once killed, your safe to grab the sniper rifle parts along with some additional ammo and can use the workbench which is inside the garage to repair the broken sniper rifle. Once you have the fixed sniper rifle, feel free to go test it out on the Lost you can see from the same building you picked it up on. This is a great way to clear out that area to pick up some resources and the Warden Crossbow if you haven’t and don’t want to sneak past them all.
Make sure you also check out our The Evil Within 2 Beginners Guide with tips and tricks to survive Union and how, if you are playing on PC, you can set the game using console commands to use first person mode.